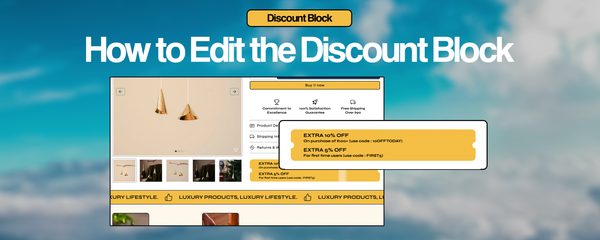
How to Set Up the Discount Block in Our Shopify Themes
📌 Steps to Set Up the Discount Block in Shopify
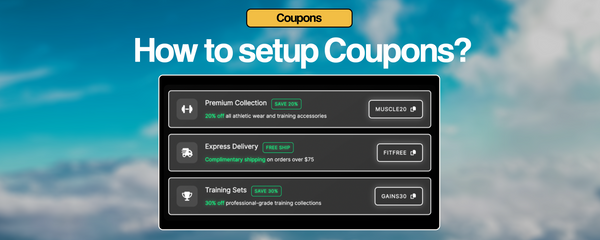
This guide will help you correctly display multiple discount offers using Shopify Metafields in the format:
Discount Title | Discount Subtitle
Step 1: Create the Discount Block Metafield
1. Log in to your Shopify Admin Panel.
2. Go to Settings → Custom Data.
3. Click Products (since this discount applies to products).
4. Click Add definition.
5. Set the Name as "Discount Block".
6. Set the Namespace and Key as custom.discount_block.
7. Under Type, select “Single Line Text (List)”.
8. Click Save.

Step 2: Add Discounts to a Product
1. Go to Products in Shopify.
2. Select the product you want to apply the discount to.
3. Scroll down to the Metafields section.
4. Locate the Discount Block metafield (custom.discount_block).
5. Click Add Item and enter each discount in the format:
EXTRA 10% OFF | On purchase of $100+ (use code: 10OFFTODAY)EXTRA 5% OFF | For first-time users (use code: FIRST5)6. Click Save.

Step 3: Test the Setup
1. Go to the Product Page of the product where you added discounts.
2. Check if the discount block appears correctly with multiple discount offers.
3. Try removing or editing a discount in the metafield and refresh the page.
4. Ensure formatting is correct (Title in bold, Subtitle below).
✅ Final Notes:
• Metafield Type: "Single Line Text (List)"
• Namespace & Key: custom.discount_block
• Format: "Discount Title | Discount Subtitle"
• Customization: Modify CSS for better styling if needed.
🚀 Now, your Shopify store will dynamically display discount offers per product!


