

How to Show Benefits with Icons in our Shopify Themes
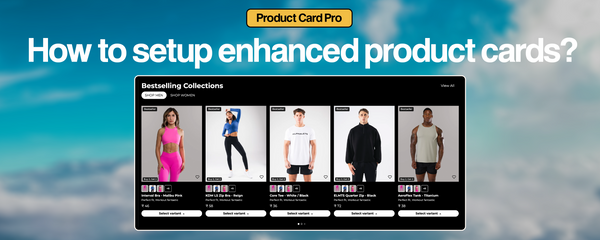
🏷️ How to Show Benefits with Icons on Your Shopify Product Page
Want to show key product benefits like “100% Arabica”, “Freeze Dried”, or “No Preservatives” with matching icons?
Here’s a quick tutorial on how to do it using Shopify metafields — with icons from Font Awesome — and display them beautifully on your product pages.
⸻
✅ Step 1: Create the Metafield for Features
1. Go to Shopify Admin → Settings → Custom data → Products
2. Click “Add definition”
3. Set it up like this:
• Name: Features
• Namespace and key: (auto-generated)
• Type: Select Single line text, then choose List of values
4. Save the metafield.

This is the metafield definition screen with “features” as the name.
⸻
✅ Step 2: Add Features to Each Product
1. Open any product in your Shopify admin
2. Scroll to the Metafields section
3. Under “Features”, click Add Item
4. Add each benefit in this format:
Label | Font Awesome Icon Class
Example entries:
• 100% Arabica | fas fa-coffee
• Freeze Dried | fas fa-dot-circle
• 100 Grams | fas fa-cube
• Makes 50 Cups | fas fa-mug-hot
• Have it Hot or Cold | fas fa-snowflake
• No Preservatives | fas fa-check-circle

This image should show multiple benefit lines with icon classes.
⸻
✅ Step 3: Preview on Storefront
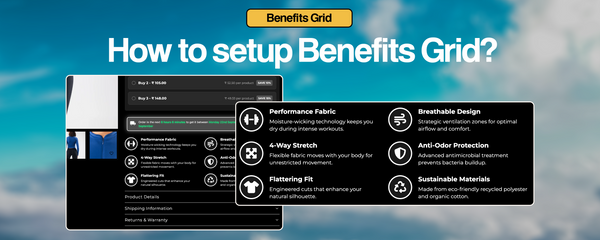
Once the data is added, your Shopify developer or theme should be set up to render these metafields as an icon + label pair on your product page — exactly like:

Example of how it appears on the actual product page: clean grid, icon + label, two columns.
⸻
📝 Notes
• You can reuse the same metafield across all products.
• The icons use Font Awesome — a library of thousands of icons.
• You can change icon classes later anytime without touching code.
⸻
Let me know if you want a version with a different layout like single-column for mobile or centered styling.